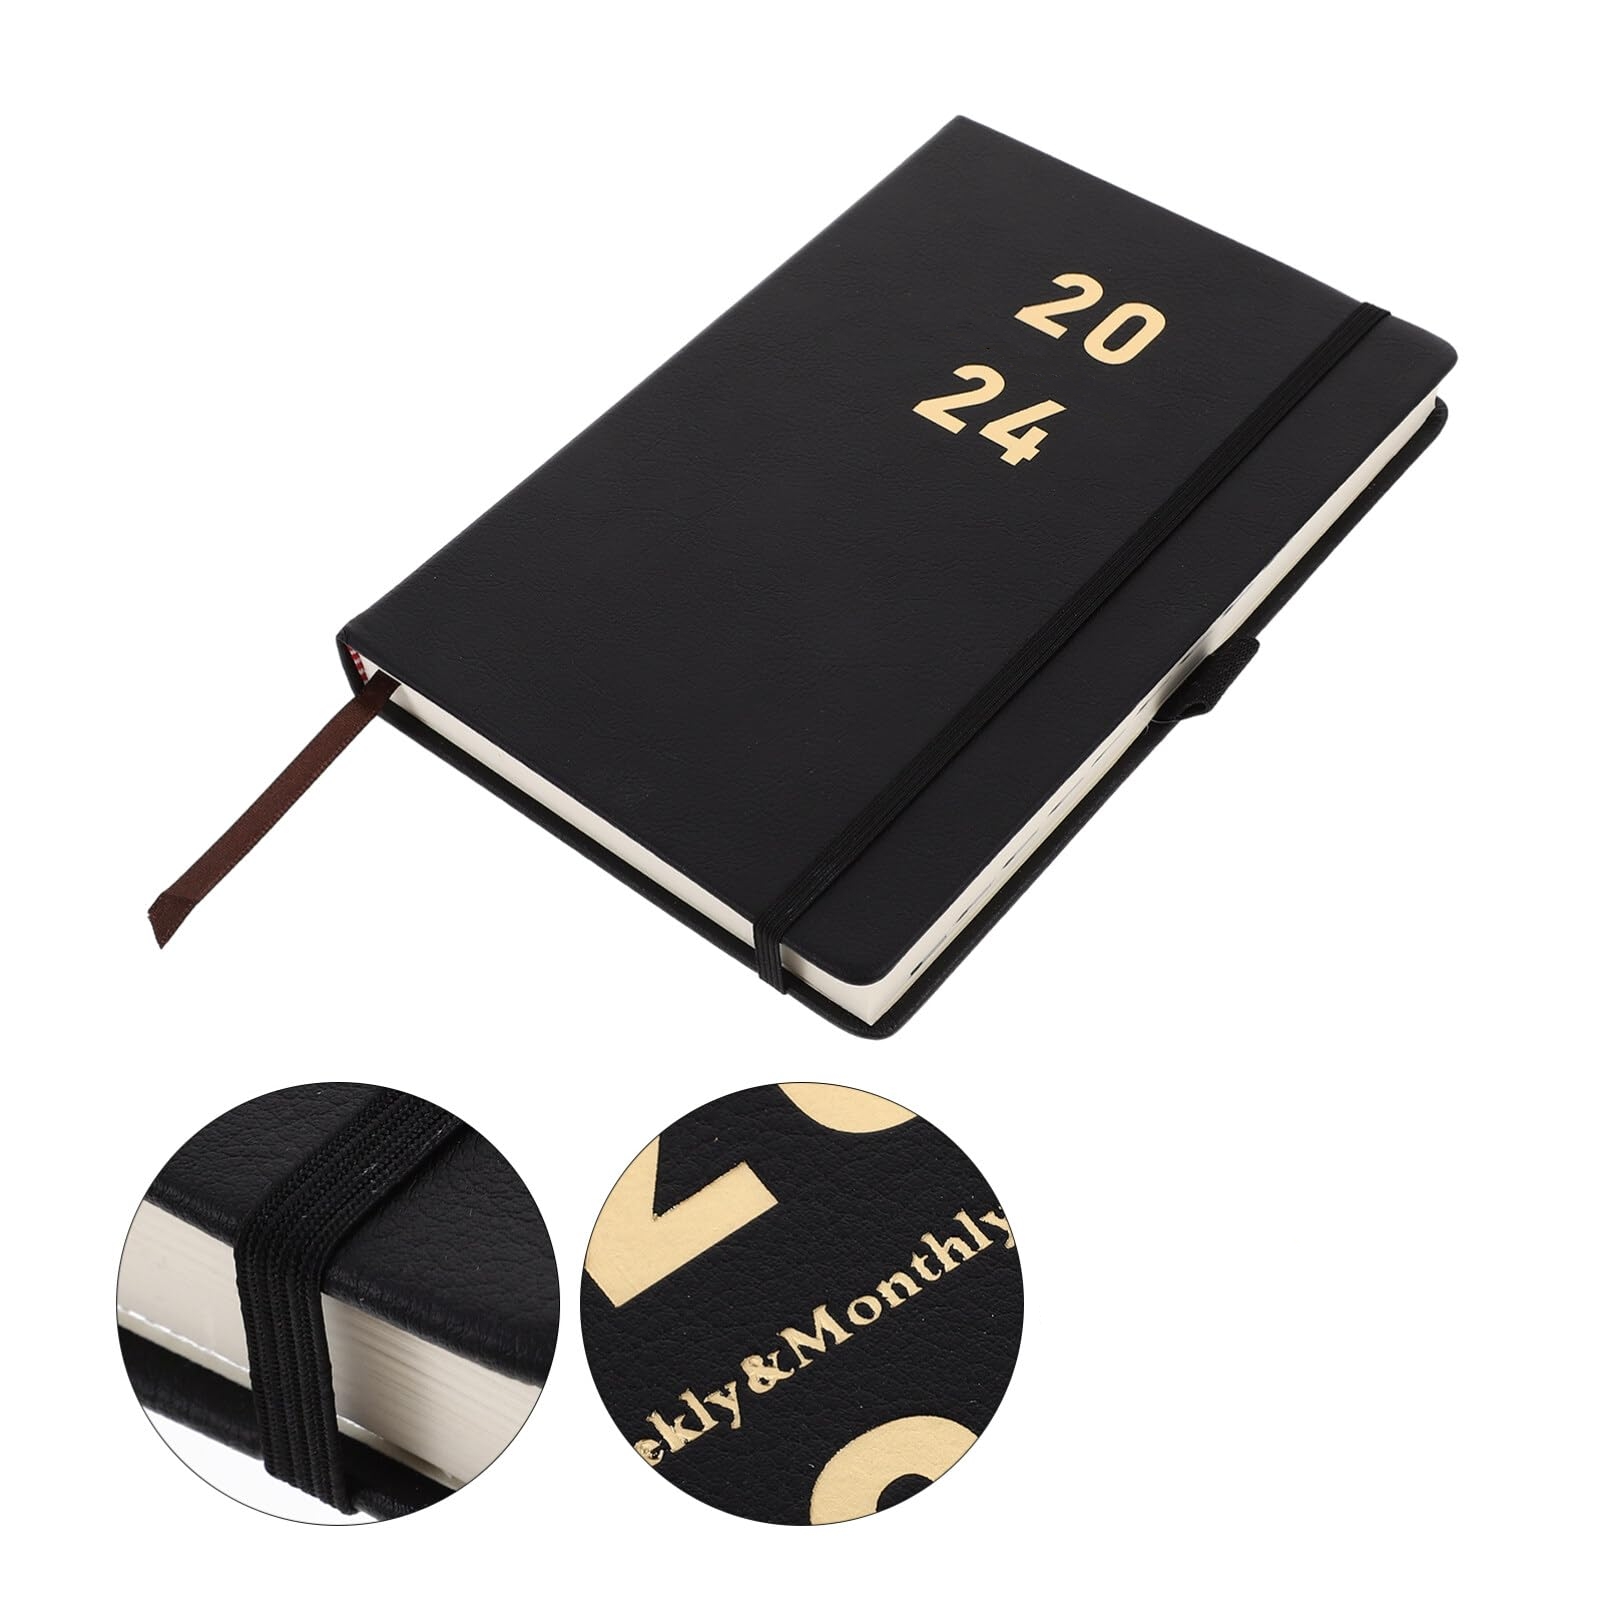
How to Customize a Leather Planner?
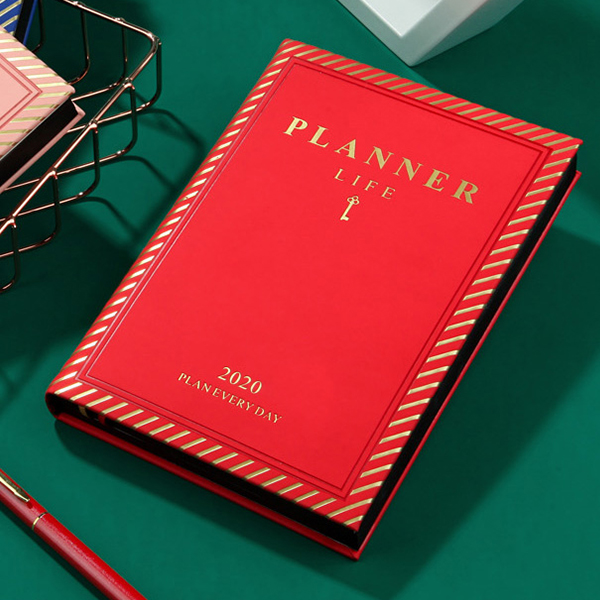
If you're looking for a way to add a personal touch to your planner, customizing a leather planner is a great way to go. Here's a step-by-step guide to help you get started.
Step 1: Choose Your Planner
The first thing you'll need to do is choose the planner you want to customize. There are plenty of options available online and in stores, so take your time to find one that suits your needs and preferences.
Step 2: Choose Your Leather
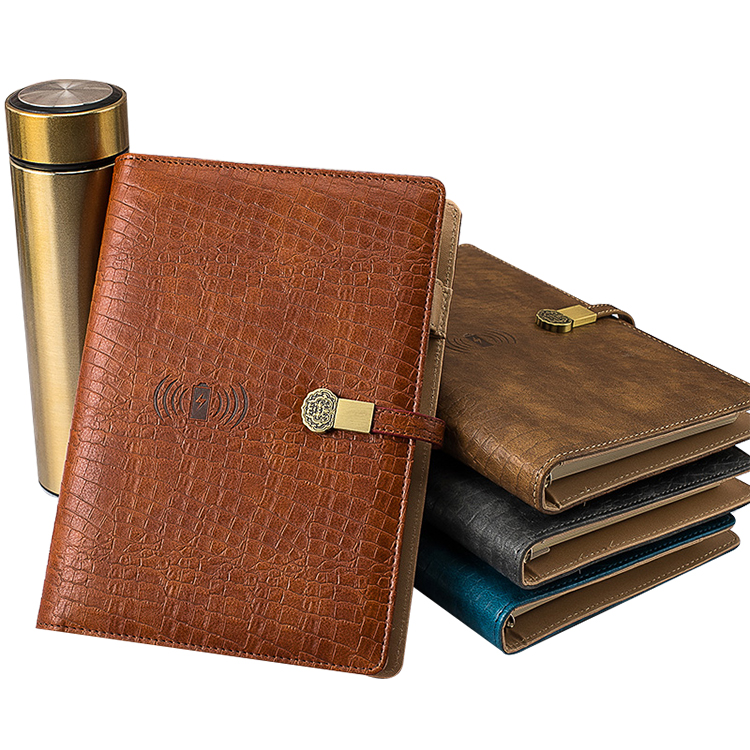
Next, you'll need to choose the leather you want to use for your customizations. There are a variety of colors and textures available, so find one that you love.
Step 3: Decide on Your Design
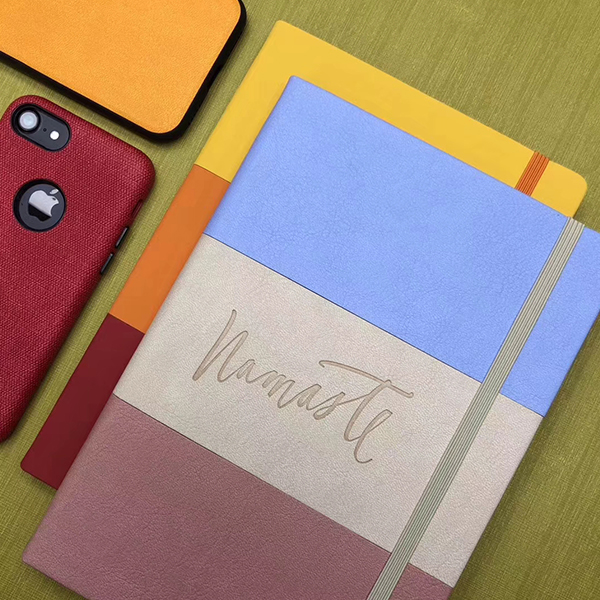
Once you've chosen your planner and leather, it's time to decide on the design you want to create. Some popular options include monograms, quotes, or graphic designs.
Step 4: Gather Your Supplies
To customize your leather planner, you'll need a few supplies. These may include leather working tools, scribes, and leather embossing stamps.
Step 5: Customize Your Planner
Now it's time to get to work. Begin by cutting your leather to fit your planner's cover, then use your scribe and embossing stamps to create your design. If you're new to leather working, there are plenty of tutorials and guides available online to help you get started.
Step 6: Finishing Touches
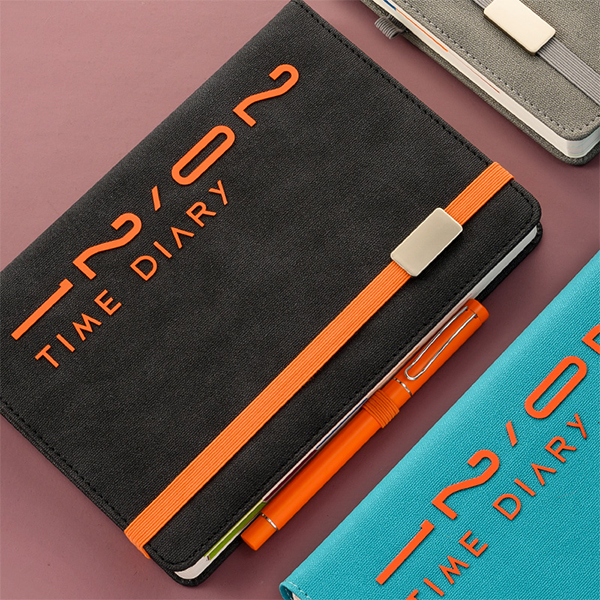
Once you've completed your customizations, add any finishing touches to your planner to make it truly unique. Adding a ribbon bookmark or personalized pages can really make a difference.
In conclusion, customizing a leather planner is a fun and easy way to make a useful item your own. With a little creativity and some good supplies, you can create a beautiful and practical planner that is uniquely yours.
We warmly welcome your inquiry and long term cooperate!
welcome you to be our distributor in your local market


